MonitorExam with Google Forms

Here’s how MonitorExam integrates with Google Forms to let you proctor exams step by step:
📝 Step-by-Step Workflow
1. Create Your Exam in Google Forms
- Build the quiz or test in Google Forms as usual.
Use features like:
- Shuffle questions/answers.
- Require institutional login (to prevent multiple submissions).
- Set response limits (one attempt per student).
2. Set Up the Exam in MonitorExam
- In your MonitorExam dashboard (the tab you have open), go to Flexi Exams or Scheduled Exams.
Create a new exam entry and link it to your Google Form.
- You’ll paste the Google Form URL into MonitorExam.
- Assign exam details (duration, schedule, student list).
3. Add Students
- You can add students manually or upload a CSV list.
- Each student gets a secure exam link that routes them through MonitorExam before opening the Google Form.
4. Enable Proctoring Features
MonitorExam adds a monitoring layer on top of the Google Form:
- Face Detection & Tracking: Ensures the student is present and looking at the screen.
- Browser Activity Monitoring: Flags tab switching or suspicious activity.
- AI Cheating Detection: Identifies anomalies like multiple faces, unusual movements, or attempts to bypass monitoring.
- Live Dashboard: Lets you watch students in real time or review logs afterward.
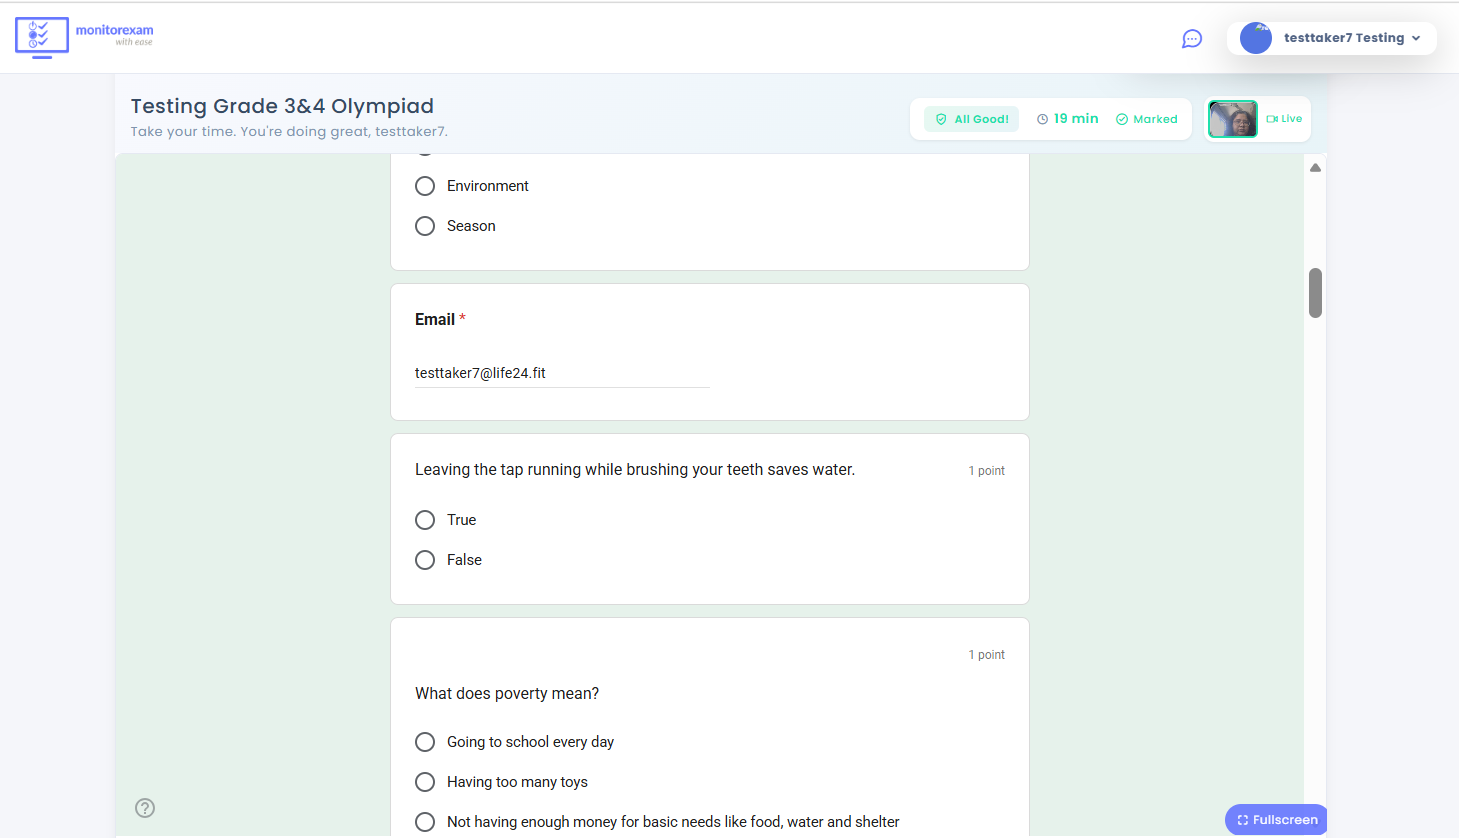
5. Conduct the Exam
- Students join via the MonitorExam link, which activates monitoring.
- They then access the Google Form exam inside the secure environment.
- You can supervise live (like Google Meet) or rely on MonitorExam’s automated reports.
6. Review Results
After the exam, MonitorExam provides:
- Completion status (who finished, who didn’t).
- Cheating alerts (flagged incidents).
- Exam logs (screenshots, activity reports).
- You can then analyze Google Form responses alongside MonitorExam’s proctoring data.
In short: Google Forms handles the test content, MonitorExam handles the proctoring. Students never access the form directly; they go through MonitorExam, which enforces monitoring and security.